Geomembrane is essential components in modern civil engineering, environmental protection, and water management projects. Among them, the 1mm HDPE liner is widely used due to its balanced properties of flexibility, durability, and cost-effectiveness. It is commonly applied in landfills, aquaculture ponds, mining containment, water reservoirs, and agricultural irrigation systems.
However, the performance of a geomembrana system does not depend solely on the material quality. Proper installation plays an equally critical role in ensuring long-term functionality, leak prevention, and structural integrity. Even a high-quality GEOSINCERE Geosynthetics geomembrane can fail prematurely if installed incorrectly.
This guide provides a comprehensive, step-by-step overview of how to properly install a 1mm geomembrana, along with practical tips drawn from real-world project experience.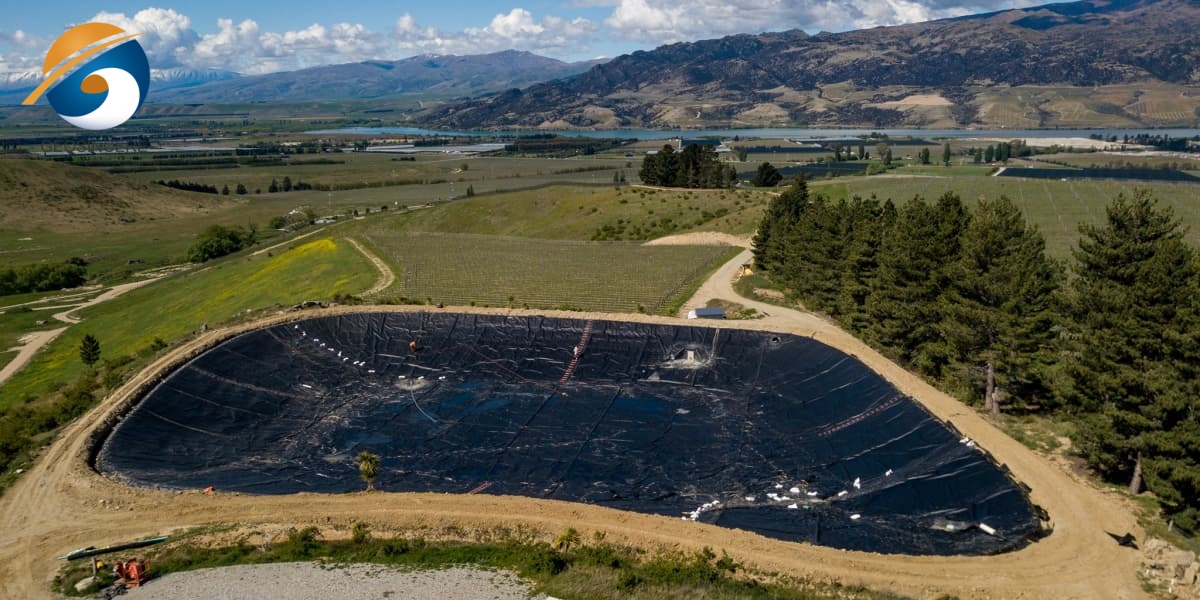
Before starting installation, it is important to understand the characteristics of a 1mm geomembrane.
A 1mm geomembrane typically offers:
- Good tensile strength and elongation properties
- Excellent impermeability for water and chemicals
- Flexibility for adapting to subgrade irregularities
- Ease of handling compared to thicker membranes
It is commonly made from materials such as HDPE, LLDPE, or PVC. Among these, HDPE geomembranes are the most widely used due to their superior chemical resistance and durability.
Because of its moderate thickness, the 1mm geomembrane is suitable for projects where mechanical stress is not extremely high but reliable containment is still required.
Proper preparation is the foundation of successful geomembrane installation.
Before installation begins, conduct a thorough inspection of the site:
- Ensure the subgrade is stable and properly compacted
- Remove sharp objects such as stones, roots, and debris
- Check for uneven surfaces that may cause stress points
A smooth and clean surface reduces the risk of puncture and ensures better contact between the geomembrane and the ground.
The subgrade should meet the following conditions:
- Well-compacted soil with no loose areas
- Smooth surface without abrupt elevation changes
- Proper slope design for drainage
If necessary, a layer of geotextile can be placed beneath the geomembrane for additional protection.
Before installation:
- Check the geomembrane rolls for visible defects
- Verify thickness, width, and length according to specifications
- Ensure proper storage conditions to avoid UV or mechanical damage
Avoid using damaged materials, as even minor defects can lead to leakage.
Carefully unroll the geomembrane over the prepared subgrade:
- Use appropriate equipment such as spreader bars or rollers
- Avoid dragging the material directly on rough surfaces
- Align the sheets according to the installation plan
Deployment should be done during favorable weather conditions. Strong winds can make handling difficult and increase the risk of damage.
Plan the layout to minimize seams:
- Place panels in the direction of the slope
- Avoid excessive overlaps or complex joint patterns
- Ensure sufficient overlap (typically 100–150 mm depending on welding method)
Proper layout improves efficiency and reduces potential weak points.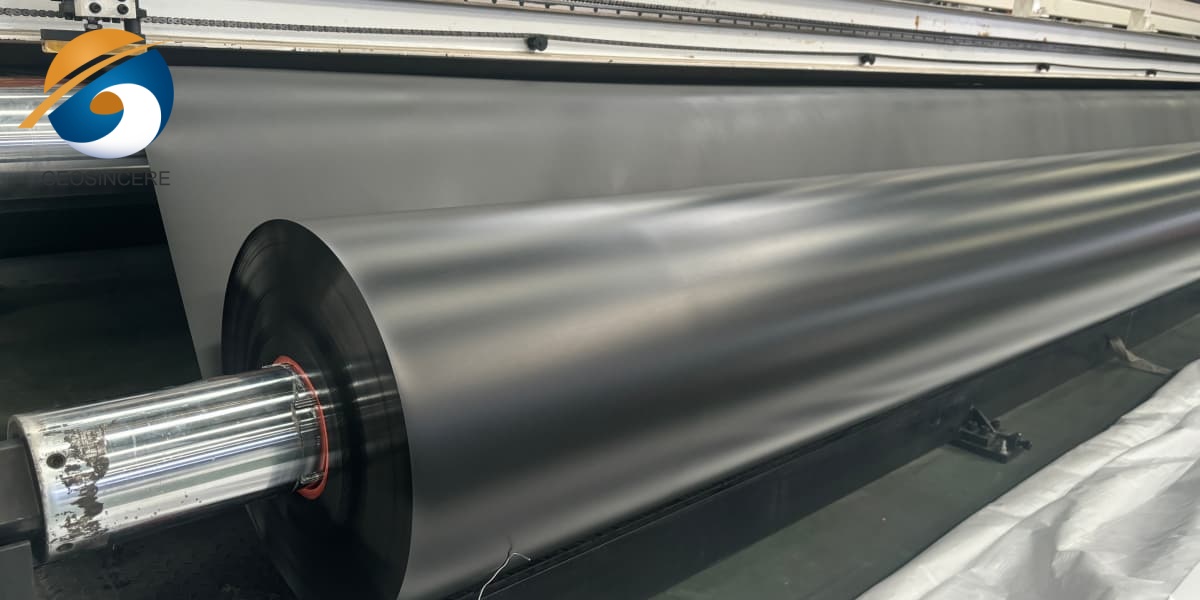
Seaming is one of the most critical steps in geomembrane installation.
Common welding methods include:
- Hot wedge welding (for long seams)
- Extrusion welding (for repairs and details)
The choice depends on project requirements and site conditions.
- Clean the overlap area before welding
- Ensure proper temperature settings based on material type
- Maintain consistent welding speed
- Perform trial welds before actual work
Operators should be trained and experienced to ensure high-quality seams.
After welding:
- Conduct non-destructive tests such as air pressure testing or vacuum testing
- Inspect seams visually for defects
- Perform destructive testing on sample seams if required
Quality control at this stage is essential to prevent leakage.
Proper anchoring is essential to prevent geomembrane displacement caused by wind uplift, water flow, or long-term environmental stresses. A well-executed anchoring system ensures that the geomembrane remains stable throughout its service life and maintains continuous contact with the subgrade, which is critical for effective waterproofing performance.
Anchor trenches are typically installed along the perimeter of the project area and at the crest of slopes. Their design and dimensions should be determined based on engineering requirements, site conditions, and the type of geomembrane used.
- Typical dimensions depend on project design and slope conditions
- Secure the geomembrane firmly inside the trench, ensuring sufficient embedment length
- Avoid sharp bends at the trench edge to prevent stress concentration
- Backfill with suitable soil and compact in layers to achieve stability
In addition, it is recommended to inspect the trench for loose soil or debris before placement to ensure proper anchoring performance.
Slope areas require special attention due to the risk of sliding and tension forces acting on the geomembrane.
- Use temporary ballast such as sandbags to hold the membrane in place during installation
- Install from top to bottom to control alignment and reduce tension buildup
- Ensure proper tension without overstretching the material
- Avoid wrinkles, as they may lead to stress concentration and potential damage
For steep slopes, additional anchoring methods or intermediate benches may be considered to further enhance stability and safety.
To extend the service life of the geomembrane, a protection layer is often necessary.
Place nonwoven geotextile above or below the geomembrane:
- Prevent puncture from external loads
- Distribute stress evenly
Depending on the application:
- Use soil cover in landfills or reservoirs
- Use concrete slabs in channels or industrial areas
Protection layers significantly enhance durability.
Environmental conditions greatly affect installation quality.
- Avoid installation during extreme heat or cold
- Optimal temperature range ensures proper welding
- High wind speeds can damage or misalign panels
- Use temporary weights to secure sheets
- Do not install during rain
- Wet surfaces can affect welding quality
Planning installation according to weather conditions improves efficiency and quality.
A strict quality control system ensures long-term performance.
- Check deployed panels for damage
- Verify seam quality
- Ensure proper alignment
Maintain detailed records:
- Installation dates
- Welding parameters
- Test results
Before project completion:
- Conduct a comprehensive inspection
- Repair any detected defects
- Ensure compliance with project specifications
Even experienced teams can make mistakes. Here are some common issues:
- Poor subgrade preparation leading to punctures
- Insufficient overlap causing weak seams
- Incorrect welding temperature
- Ignoring weather conditions
- Lack of proper testing
Avoiding these mistakes can significantly improve project success.
Based on real project experience, here are some practical tips:
- Plan logistics carefully
Ensure materials and equipment are available before starting work.
- Train installation teams
Skilled workers improve efficiency and reduce errors.
- Use protective footwear
Prevent accidental damage to the geomembrane.
- Work in sections
Divide large areas into manageable zones.
- Perform trial welds daily
Adjust parameters according to environmental conditions.
- Keep backup equipment ready
Avoid delays due to equipment failure.
- Communicate clearly on-site
Coordination between teams is essential. 
The installation of a geomembrana 1mm is a systematic process that requires careful planning, skilled execution, and strict quality control. From subgrade preparation to final inspection, every step plays a crucial role in ensuring the effectiveness and longevity of the containment system.
At Shandong Geosino New Material Co., Ltd. (GEOSINCERE Geosynthetics), we understand that successful projects are built not only on high-quality materials but also on professional installation practices. By following the steps and practical tips outlined in this guide, project owners and contractors can achieve reliable, long-lasting results.
If you are planning a project involving geomembrana, proper installation is not just a recommendation—it is a necessity for performance, safety, and cost efficiency.
